Schott Ceran stove tops are high-quality glass-ceramic surfaces designed for durability and modern cooking convenience․ They offer easy maintenance‚ sleek designs‚ and compatibility with various cooking methods‚ making them a popular choice for home cooks and professionals alike․
What is Schott Ceran Cooktop?
Schott Ceran cooktops are high-quality glass-ceramic surfaces engineered for durability and modern cooking convenience․ Made from a unique glass-ceramic material‚ they combine aesthetic appeal with exceptional heat resistance and scratch resistance․ These cooktops are designed to withstand heavy use and are compatible with gas‚ electric‚ and induction cooking methods․ Their smooth‚ non-porous surface ensures easy cleaning and maintenance‚ making them a practical choice for everyday use․ Schott Ceran cooktops are known for their energy efficiency and quick heat distribution‚ allowing for precise temperature control․ They are also equipped with safety features such as automatic shut-off and child safety locks‚ ensuring a secure cooking environment․ Designed to retain their sleek appearance over time‚ Schott Ceran cooktops are a popular choice for both home cooks and professional chefs․

Safety Precautions
Always follow safety guidelines to prevent accidents․ Avoid placing hot pan covers on the glass surface‚ and never let cookware boil dry․ Keep objects from falling on the cooktop‚ and ensure it is properly installed and earthed․ Use the hob lock to prevent accidental activation‚ and keep children away while cooking․ Regularly inspect the surface for damage‚ and avoid submerging the cooktop in water․ Follow the manual’s instructions for safe operation and maintenance to ensure longevity and safety․
General Safety Warnings
Always adhere to safety guidelines to ensure safe operation of your Schott Ceran stove top․ Never place hot pan covers directly on the glass surface‚ as this can cause damage․ Avoid letting cookware boil dry‚ as it may lead to overheating or damage to the cooktop․ Prevent objects or cookware from falling on the surface‚ as this can result in cracks or breakage․ Ensure the cooktop is installed and earthed by a qualified technician to prevent electrical hazards․ Regularly inspect the surface for any signs of damage‚ and avoid using the cooktop if it is cracked or chipped․ Keep the cooktop away from water or liquid to prevent electrical issues․ Use only recommended cleaning agents to avoid damaging the glass-ceramic surface․ Always switch off the cooktop before cleaning or performing maintenance․ Follow the manufacturer’s instructions for safe operation and maintenance to ensure longevity and safety․
Child Safety Features
Schott Ceran stove tops are designed with child safety in mind‚ offering features that prevent accidental activation and ensure a secure cooking environment․ The hob can be protected against being accidentally turned on‚ ensuring children cannot switch on the hotplates unintentionally․ This feature provides peace of mind for parents‚ knowing that the stove top remains safe even when little ones are around․ Additionally‚ the stove top’s controls are designed to prevent unauthorized access‚ further enhancing safety․ These features work seamlessly to create a safe kitchen environment‚ allowing parents to cook with confidence while keeping their children protected from potential hazards․

Installation and Setup
Proper installation of Schott Ceran stove tops requires a qualified professional to ensure safety and efficiency․ The appliance must be correctly earthed and installed according to the manual․
Proper Installation Requirements
Proper installation of Schott Ceran stove tops requires adherence to specific guidelines to ensure safety and optimal performance․ The cooktop must be installed by a qualified professional‚ following the instructions provided in the user manual․ It is crucial to ensure the appliance is correctly earthed to prevent electrical hazards․ The installation area must be level‚ clean‚ and free from any flammable materials․ Additionally‚ the cooktop should not be submerged in water or exposed to excessive moisture․ Compatibility with your home’s electrical and heating systems is essential‚ and the manual provides detailed specifications for a secure setup․ Always verify that the cooktop is installed in accordance with local safety standards and manufacturer recommendations to guarantee long-term durability and efficiency․
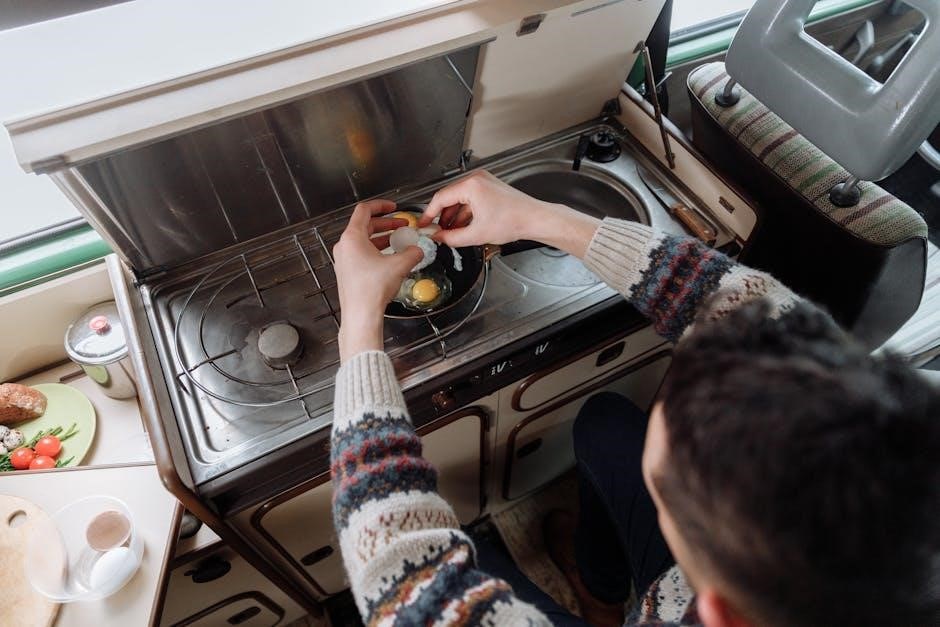
Operating the Schott Ceran Cooktop
Operating the Schott Ceran Cooktop is straightforward with its intuitive controls and safety features‚ ensuring efficient cooking while maintaining durability and ease of use․
Starting Up the Cooktop
Before using your Schott Ceran cooktop for the first time‚ ensure it is properly installed and aligned with the provided manual instructions․ Always read the user manual to understand the specific startup procedures for your model․ Turn on the cooktop by pressing the designated power button or knob‚ depending on your model․ For induction models‚ ensure compatible cookware is placed on the surface before activation․ Avoid placing hot pan covers directly on the glass surface‚ as this can cause damage․ Do not let cookware boil dry‚ as it may harm the cooktop․ Keep objects away from the control panel to prevent accidental activation․ For added safety‚ activate the child safety lock if available․ Regular cleaning after use will help maintain its performance and longevity․ Always follow the manufacturer’s guidelines for a smooth and safe startup process․
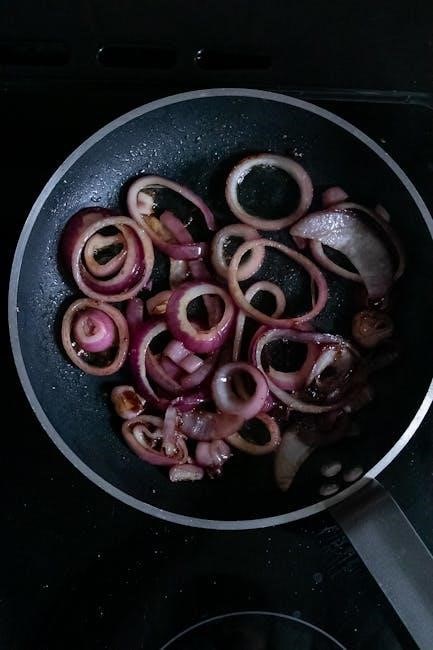
Basic Cooking Controls and Functions
Schott Ceran cooktops feature intuitive controls designed for precise cooking management․ The touch-sensitive interface or ergonomic knobs allow easy adjustment of heat levels․ LED indicators provide clear visibility of active cooking zones․ For induction models‚ the control bar enables flexible heat settings for compatible cookware․ Timers can be set to monitor cooking durations‚ ensuring dishes are prepared to perfection․ The cooktop also includes a child safety lock to prevent accidental activation․ To operate‚ simply place cookware on the designated zone and adjust the controls as needed․ Avoid using metal objects on the touch surface to prevent scratches․ Always ensure cookware is compatible with the cooktop type (e․g․‚ induction or ceramic)․ Regularly cleaning the surface ensures optimal performance of the controls and functions․ Follow the manual’s guidelines for specific model features and operation․
Cleaning and Maintenance
Regular cleaning prevents wear and tear․ Use a metal scraper for coarse debris‚ then rub with cleaning solution․ Avoid abrasive cleaners or metal utensils to prevent scratches․ Follow manual guidelines for deep cleaning and maintenance to preserve the cooktop’s appearance and functionality over time․
Daily Cleaning Tips
To maintain your Schott Ceran stove top‚ clean it after every use․ Start by removing food residue with a metal scraper‚ then wipe the surface with a damp cloth․ Apply a few drops of a recommended cleaning solution‚ such as Ceran cleaner‚ and rub gently with a soft cloth or sponge․ Avoid using abrasive cleaners‚ bleach‚ or metal utensils‚ as they can scratch the glass-ceramic surface․ For tougher stains‚ let the cleaner sit for a few minutes before wiping clean․ Never use harsh chemicals or scouring pads‚ as they can damage the cooktop․ After cleaning‚ dry the surface with a soft‚ lint-free cloth to prevent water spots and maintain its glossy finish․ Regular daily cleaning prevents grime buildup and keeps your Schott Ceran stove top looking like new․
Deep Cleaning and Scratching Prevention
For deep cleaning your Schott Ceran stove top‚ start by removing stubborn stains or grime buildup․ Use a metal cleaning scraper to gently scrape away tough residue‚ ensuring not to apply excessive pressure that could scratch the surface․ Apply a small amount of Ceran cleaner or a specialized glass-ceramic cleaning product‚ and use a soft‚ non-abrasive cloth or sponge to rub the area in circular motions․ Avoid using harsh chemicals‚ bleach‚ or abrasive scrubbers‚ as they can damage the glass-ceramic surface․ After cleaning‚ rinse the cloth thoroughly and wipe the surface clean to remove any residue․ To prevent scratches‚ avoid placing metal utensils or cookware directly on the cooktop and always lift pots and pans instead of sliding them․ Regular deep cleaning and proper care will help maintain the cooktop’s appearance and longevity․
Troubleshooting Common Issues
Identify and resolve common problems like uneven heating or error lights․ Check cookware compatibility‚ ensure proper installation‚ and avoid using abrasive cleaners to prevent scratches and damage․
Identifying and Resolving Common Problems
Common issues with Schott Ceran stove tops include error lights‚ uneven heating‚ or cookware incompatibility․ Start by checking the user manual for specific error codes‚ as they often indicate the root cause․ Ensure cookware is compatible with the cooktop‚ as unsuitable materials can cause poor performance․ For uneven heating‚ verify that the cookware base is flat and clean․ Avoid using abrasive cleaners‚ as they can scratch the surface․ If the cooktop is not heating‚ check the power connection and ensure the appliance is properly installed․ For persistent issues‚ consult the troubleshooting guide or contact customer support․ Regular maintenance‚ such as cleaning after each use‚ can prevent many problems․ Always follow the manufacturer’s instructions to maintain the longevity and efficiency of your Schott Ceran stove top․
Following the manual ensures longevity and efficiency of your Schott Ceran stove top․ Regular cleaning‚ proper cookware‚ and adhering to safety guidelines will maintain its performance and appearance․
Final Tips for Longevity and Efficiency
To ensure your Schott Ceran stove top remains in optimal condition‚ follow these essential tips․ Regularly clean the surface after each use‚ using recommended cleaners to prevent scratches․ Avoid using metal utensils or abrasive materials‚ as they can damage the glass-ceramic surface․ Always use cookware with smooth‚ flat bottoms to distribute heat evenly and prevent thermal shock․ Never place hot pans directly on the surface; use trivets or heat-resistant mats instead․ Keep the cooktop dry to avoid water spots and maintain its sleek appearance․ For tougher stains‚ apply a cleaning solution and let it sit before wiping clean․ Avoid using harsh chemicals or scrubbers‚ as they can dull the finish․ Finally‚ refer to the manual for specific guidelines on compatible cookware and heating systems to maximize efficiency and longevity․