The Delta Shower Faucet Manual PDF provides comprehensive guidance for installing, maintaining, and troubleshooting Delta shower faucets. It includes detailed diagrams, step-by-step instructions, and essential safety precautions to ensure proper installation and optimal performance. This manual is designed for both professional installers and DIY enthusiasts, offering clear instructions to help users achieve a successful and safe setup. By following the manual, users can ensure their Delta shower faucet functions efficiently and lasts for years.
1.1 Overview of the Delta Shower Faucet Manual
The Delta Shower Faucet Manual provides detailed instructions and guidelines for the proper installation, maintenance, and repair of Delta shower faucets. It covers various models, including single-handle, dual-handle, and pressure-balanced faucets, ensuring users can address specific needs. The manual also includes troubleshooting tips, safety precautions, and warranty information, making it an essential resource for both professionals and homeowners. Its user-friendly format ensures clarity and accessibility, helping users achieve optimal performance and longevity from their Delta shower faucets.
1.2 Importance of Reading the Manual Before Installation
Reading the Delta Shower Faucet Manual before installation is crucial to ensure a safe and successful setup. It provides essential safety precautions, step-by-step instructions, and troubleshooting tips to avoid common errors. The manual also outlines compliance with plumbing codes and manufacturer recommendations, preventing potential damage or voiding the warranty. By following the guidelines, users can achieve a proper installation, ensuring optimal performance and longevity of their Delta shower faucet. This step is vital for both professionals and DIY enthusiasts.
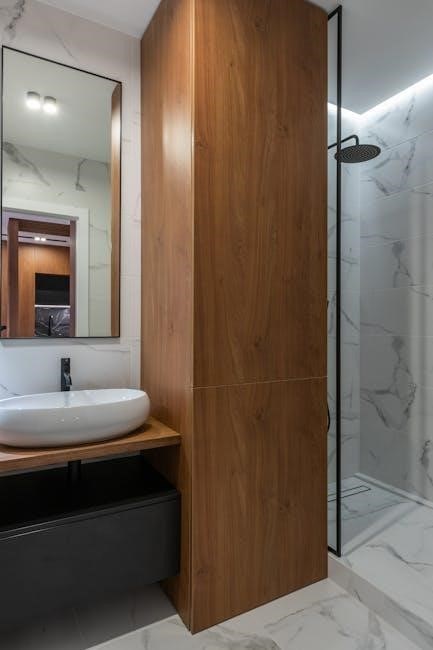
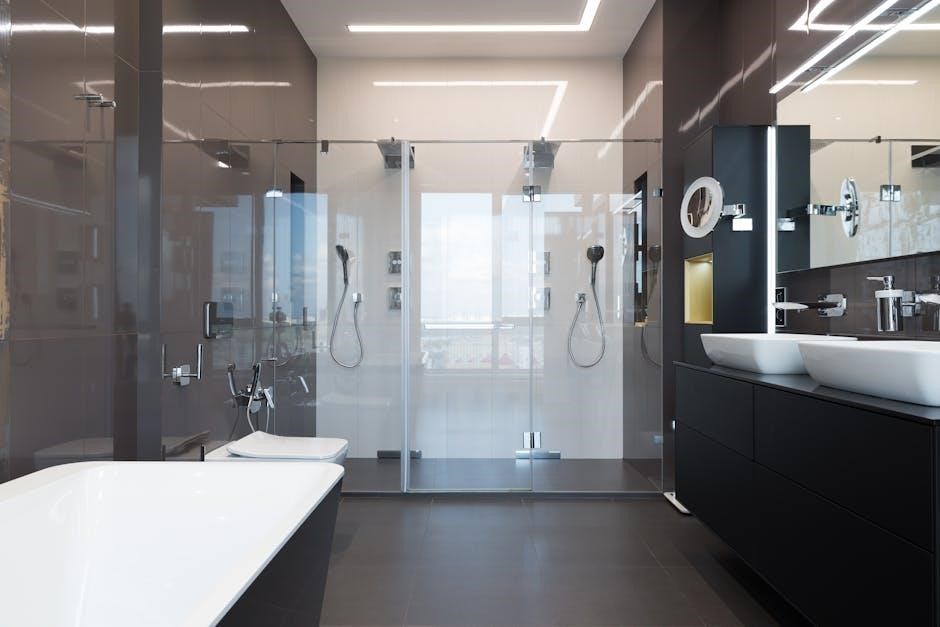
Types of Delta Shower Faucets Covered in the Manual
The manual covers various Delta shower faucet models, including single-handle, dual-handle, pressure-balanced, and thermostatic options, ensuring compatibility with different plumbing setups and user preferences.
2.1 Single-Handle Shower Faucets
Single-handle shower faucets are a popular choice for their simplicity and ease of use. They feature a single lever that controls both water temperature and flow, making them user-friendly. These faucets are designed for durability and come in various styles to suit different bathroom aesthetics. The manual provides detailed installation steps, including how to connect water supply lines and assemble the faucet components. It also offers maintenance tips, such as cleaning the aerator and replacing worn-out seals to ensure optimal performance.
2.2 Dual-Handle Shower Faucets
Dual-handle shower faucets offer precise temperature and flow control with separate hot and cold water handles. They are ideal for traditional bathroom designs and provide easy operation. The manual details installation steps, including connecting two water supply lines and assembling handle components. Maintenance tips include inspecting O-rings and washers for leaks. Troubleshooting guides help address common issues like uneven water temperature or dripping handles, ensuring long-lasting performance and user satisfaction.
2.3 Pressure-Balanced and Thermostatic Faucets
Pressure-balanced faucets maintain consistent water temperature despite pressure changes, preventing scalding. Thermostatic faucets offer precise temperature control with an adjustable thermostat; Both types are ideal for safety and comfort. The manual provides installation tips, such as setting temperature limits and ensuring proper water supply connections. Maintenance advice includes cleaning valve cartridges and checking for mineral buildup. Troubleshooting sections address issues like inconsistent temperatures or leaks, ensuring optimal performance and safety for users. These faucets are recommended for modern bathrooms seeking advanced functionality and reliability.
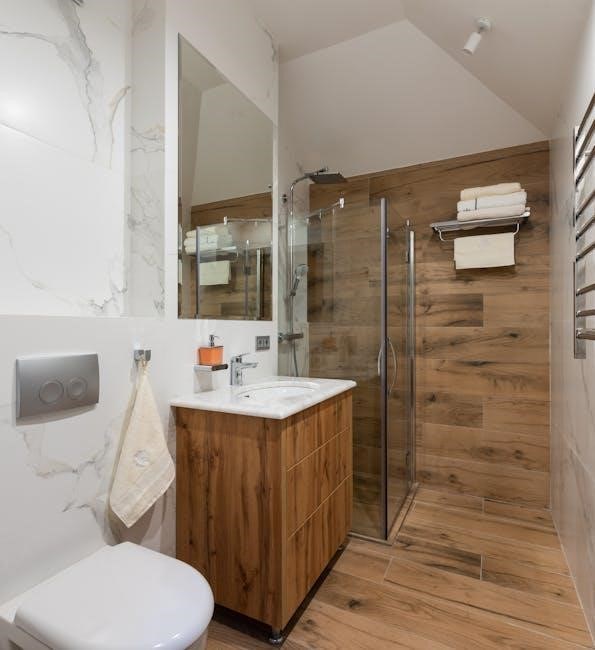
Installation Instructions for Delta Shower Faucets
The manual guides through preparing tools, mounting the faucet, and connecting water lines. Detailed steps ensure proper installation, while diagrams simplify complex tasks for DIY enthusiasts and professionals alike.
3.1 Tools and Materials Needed for Installation
To install a Delta shower faucet, gather essential tools and materials. These include an adjustable wrench, channel-type pliers, needle-nose pliers, screwdrivers, and Teflon tape. Additional materials like mounting nuts, gaskets, and O-rings may be required. Ensure all components from the package are present. Proper preparation prevents installation delays and ensures a secure, leak-free connection. Always refer to the specific model’s manual for exact requirements, as tools may vary slightly depending on the faucet type and configuration.
3.2 Step-by-Step Installation Guide
Begin by shutting off the water supply to the shower area. Next, prepare the shower valve by attaching it to the wall studs using the provided mounting hardware. Carefully connect the water supply lines to the valve, ensuring they are securely fastened with Teflon tape. Install the faucet handle and trim according to the manual’s instructions. Attach the shower head to the shower arm, tightening it by hand. Finally, turn the water supply back on and test the faucet for leaks or proper function.
3.3 Troubleshooting Common Installation Issues
Common issues during Delta shower faucet installation include leaks, incorrect water temperature, or improper handle alignment. For leaks, check connections and ensure all gaskets and washers are properly seated. If water pressure is low, inspect the shower head for mineral buildup or debris. For temperature issues, verify the valve’s calibration and ensure the mixing valve is correctly installed. Always refer to the manual for specific troubleshooting steps, and consider consulting a professional if problems persist.
Maintenance and Care of Delta Shower Faucets
Regular maintenance ensures longevity and optimal performance of Delta shower faucets. Clean the faucet and shower head regularly, inspect for worn parts, and prevent mineral buildup. Use professional help for complex repairs.
4.1 Cleaning the Faucet and Shower Head
Regular cleaning is essential to maintain the performance and appearance of Delta shower faucets. Use a mild detergent and soft cloth to wipe down surfaces, avoiding harsh chemicals. For mineral buildup, soak the shower head in vinegar or baking soda solution. Rinse thoroughly and dry to prevent water spots. Cleaning should be done monthly to ensure optimal water flow and prevent corrosion. Always follow the manufacturer’s recommendations for cleaning products to avoid damaging finishes.
4.2 Inspecting and Replacing Worn-Out Parts
Regularly inspect Delta shower faucets for worn-out parts like O-rings, gaskets, or cartridges, which can cause leaks or reduced performance. Check for mineral buildup, corrosion, or visible damage. Replace parts promptly using genuine Delta replacement components to ensure compatibility and longevity. Refer to the manual for specific instructions on disassembling and reassembling the faucet. Proper replacement ensures optimal function, prevents further damage, and maintains water efficiency. Always follow safety guidelines when performing repairs.
4.3 Preventing Mineral Buildup and Corrosion
To prevent mineral buildup and corrosion on Delta shower faucets, regularly clean the faucet and shower head with a mixture of white vinegar and water. Remove and soak aerators or shower heads to eliminate mineral deposits. Use a soft cloth to wipe down surfaces and apply a protective finish to maintain luster. Avoid harsh chemicals that may damage finishes. Drying the faucet after use and replacing worn-out parts promptly can further prevent corrosion and extend the faucet’s lifespan.

Repair and Replacement Guidelines
Identify common issues like leaks or faulty cartridges and replace them with genuine Delta parts. Refer to the manual for specific repair instructions and troubleshooting tips.
Ensure all repairs are done with proper tools and follow warranty guidelines. Contact Delta support for assistance or professional installation if needed to maintain product integrity.
5.1 Identifying Common Issues with Delta Shower Faucets
Common issues with Delta shower faucets include leaks around the handle or shower head, faulty cartridges, and mineral buildup. Leaks often result from worn-out gaskets or O-rings, while temperature malfunctions may stem from pressure-balanced or thermostatic valve issues. Low water flow could indicate clogged aerators or shower heads. Regular inspection and maintenance, as outlined in the manual, help identify these problems early. Addressing these issues promptly ensures optimal performance and extends the faucet’s lifespan, maintaining its efficiency and reliability over time.
5.2 Replacing the Cartridge or Valve
Replacing the cartridge or valve in a Delta shower faucet is a common repair to address leaks or temperature control issues. Begin by shutting off the water supply and disassembling the faucet to access the cartridge or valve. Remove the old part by gently pulling or using an adjustable wrench, then install the new one by aligning it properly and securing it firmly. Refer to the manual for specific instructions, as procedures may vary depending on the faucet model. This process ensures proper functionality and prevents further issues.
5.3 Fixing Leaks and Other Common Problems
Leaky faucets are often caused by worn-out washers or O-rings. To fix leaks, turn off the water supply, disassemble the faucet, and inspect for damaged parts. Replace faulty washers, O-rings, or gaskets with genuine Delta replacement parts. Reassemble the faucet carefully, ensuring all connections are tight but not over-tightened. For persistent issues, refer to the manual or contact Delta support. Regular maintenance and part replacement can prevent future leaks and extend the faucet’s lifespan.
Warranty and Support Information
The Delta Shower Faucet Manual PDF provides a lifetime warranty on parts and finishes, ensuring durability. For support, contact Delta directly via phone or their official website.
6.1 Understanding the Delta Faucet Warranty
The Delta Faucet Warranty ensures all parts and finishes are free from defects in material and workmanship for as long as the original purchaser owns their home. This warranty covers leaks, finish durability, and functional issues, providing peace of mind for users. However, it excludes damage due to misuse, improper installation, or failure to follow maintenance guidelines. Registration and adherence to care instructions are essential to uphold warranty benefits. Delta’s commitment to quality is reflected in this comprehensive coverage.
6.2 Registering Your Product and Filing Claims
Registering your Delta shower faucet is essential to activate warranty benefits. Visit Delta’s official website and complete the online registration form with details like purchase date, model number, and installation information. Keep your receipt as proof of purchase. If filing a claim, contact Delta’s customer support with your product details and issue description. Claims are processed based on warranty terms, ensuring timely resolution for defective parts or finishes. Proper documentation is key for a smooth claims process.
6.3 Contacting Delta Faucet Customer Support
For assistance with your Delta shower faucet, contact customer support via phone at 1-800-345-DELTA (3358) or through their official website. Live chat and email options are also available for convenience. Have your faucet model number and purchase details ready for efficient service. Delta’s support team is available to address installation, repair, or warranty-related inquiries. Visit Delta’s website for additional resources, including FAQs and troubleshooting guides, to resolve issues quickly and effectively.
Safety Precautions and Best Practices
Always shut off water supply before maintenance. Ensure proper installation to avoid damage. Follow local plumbing codes and manufacturer guidelines for safe and reliable operation.
7.1 shutting Off Water Supply Before Maintenance
7.1 Shutting Off Water Supply Before Maintenance
Shutting off the water supply is crucial before starting any maintenance or repair on your Delta shower faucet. Locate the shut-off valves, typically found near the water supply lines, and turn them clockwise to stop water flow. Verify water is completely turned off by checking the faucet for drips or leaks. This step prevents water damage and ensures safety during repairs. Always refer to the manual for specific instructions and consider consulting a professional if unsure.
7.2 Avoiding Damage from Improper Installation
Improper installation of your Delta shower faucet can lead to leaks, water damage, and premature wear. To avoid such issues, always follow the manufacturer’s instructions and ensure all connections are secure. Misaligned parts or overtightening can damage components. Use the correct tools and materials, as specified in the manual. Delta Faucet Company recommends professional installation for complex setups. Proper alignment and tightening techniques are essential to prevent long-term damage and ensure optimal performance.
7.3 Ensuring Compliance with Plumbing Codes
When installing a Delta shower faucet, ensure compliance with local plumbing codes and regulations. Verify water pressure requirements and use approved materials. Properly align and secure connections to avoid leaks. Check temperature settings to prevent scalding. Always follow safety guidelines and consult a licensed plumber if unsure. Compliance ensures safe operation and avoids potential legal issues. Delta Faucet Company emphasizes adherence to these standards for optimal performance and longevity of the product.
The Delta Shower Faucet Manual PDF provides a comprehensive guide for installation, maintenance, and troubleshooting. Following its instructions ensures optimal performance and longevity of your faucet.
8.1 Summary of Key Points
The Delta Shower Faucet Manual PDF is an essential resource for understanding installation, maintenance, and repair processes. It covers various faucet types, including single-handle, dual-handle, and thermostatic models. The guide emphasizes proper tools, materials, and safety precautions to ensure successful setup. Regular cleaning, part inspection, and mineral buildup prevention are highlighted for longevity. Troubleshooting common issues and warranty details are also provided. By following the manual, users can maintain optimal performance and extend the lifespan of their Delta shower faucet.
8.2 Final Tips for a Successful Installation
For a successful Delta shower faucet installation, ensure the water supply is turned off before starting. Use the recommended tools and materials to avoid damage. Follow the step-by-step guide carefully, and double-check all connections for tightness. Test the faucet after installation to confirm proper function. Align all parts correctly to prevent leaks and ensure optimal performance. Always refer to the manual for specific instructions, and consider consulting a professional if unsure. Proper installation ensures longevity and satisfaction with your Delta shower faucet.