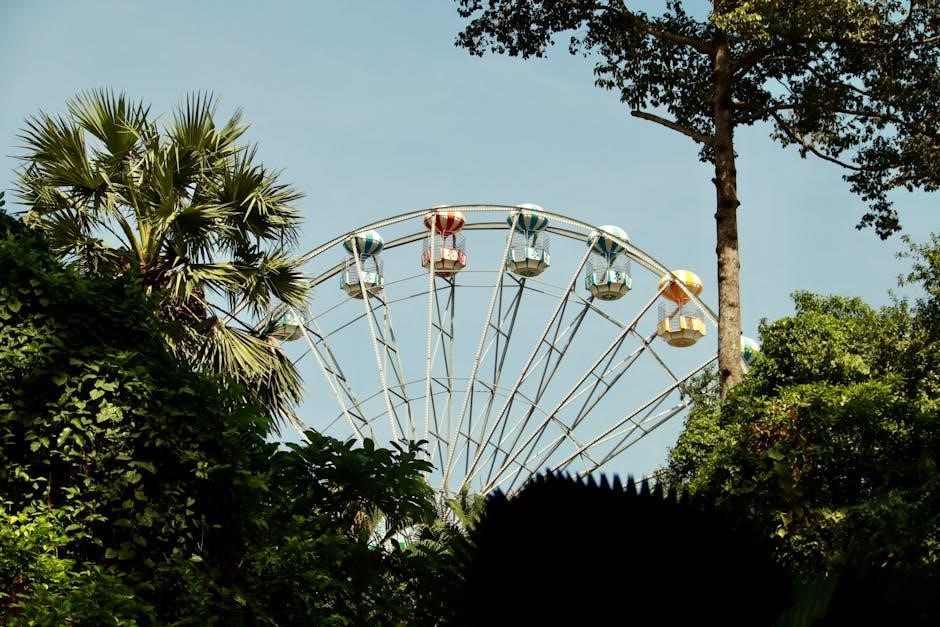
Building a K’NEX Ferris wheel is a fun and creative engineering challenge. It allows you to bring your imagination to life while learning about mechanics and structure. With detailed instructions and patience‚ you can construct a fully functional Ferris wheel that rotates smoothly and stands tall. This project is perfect for K’NEX enthusiasts of all skill levels‚ offering a sense of accomplishment and joy in creating something truly impressive.
1.1 Overview of K’NEX and Its Creative Possibilities
K’NEX is a versatile building system featuring rods and connectors that inspire creativity and innovation. With its unique interlocking pieces‚ builders of all ages can create intricate structures‚ from simple toys to complex machines. This toy fosters problem-solving skills and encourages users to experiment with designs‚ making it an excellent tool for learning and self-expression. Its limitless possibilities make it a favorite among hobbyists and educators alike.
1.2 Importance of Following Instructions for Complex Builds
Following instructions is crucial for successfully assembling a K’NEX Ferris wheel. Each step ensures structural integrity and proper functionality. Skipping or misinterpreting steps can lead to instability or mechanical failures. By adhering to the guide‚ builders can avoid common pitfalls and achieve a smooth‚ operational Ferris wheel‚ enhancing their overall building experience and satisfaction with the final result.
Gathering Materials and Tools
Gather all K’NEX rods‚ connectors‚ and specialized pieces like gears and motors. Ensure you have tools like Allen wrenches and a sturdy work surface for assembly.
2.1 Essential K’NEX Pieces Required for the Ferris Wheel
The K’NEX Ferris wheel requires specific pieces‚ including long rods for the frame‚ connectors for joints‚ and smaller rods for details. Gears and motors are crucial for rotation‚ while wheels and seats add functionality. Ensure you have enough orange connectors for stability and steel rods for structural support. These components are vital for constructing a sturdy and functional Ferris wheel design.
2.2 Tools You Might Need for Assembly
For assembling the K’NEX Ferris wheel‚ you may need tools like an Allen wrench for tightening‚ a screwdriver for motor installation‚ and pliers for gripping small parts. A rubber mallet can help tap pieces into place without damaging them. Additionally‚ clamps or a vice can stabilize the structure during assembly‚ and a clean‚ flat work surface is essential for organizing and building efficiently.
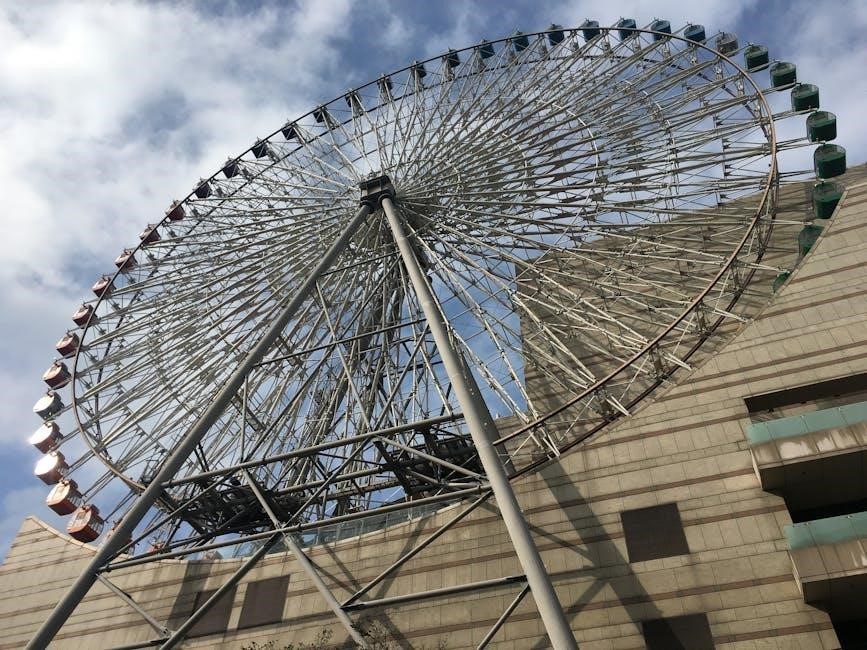
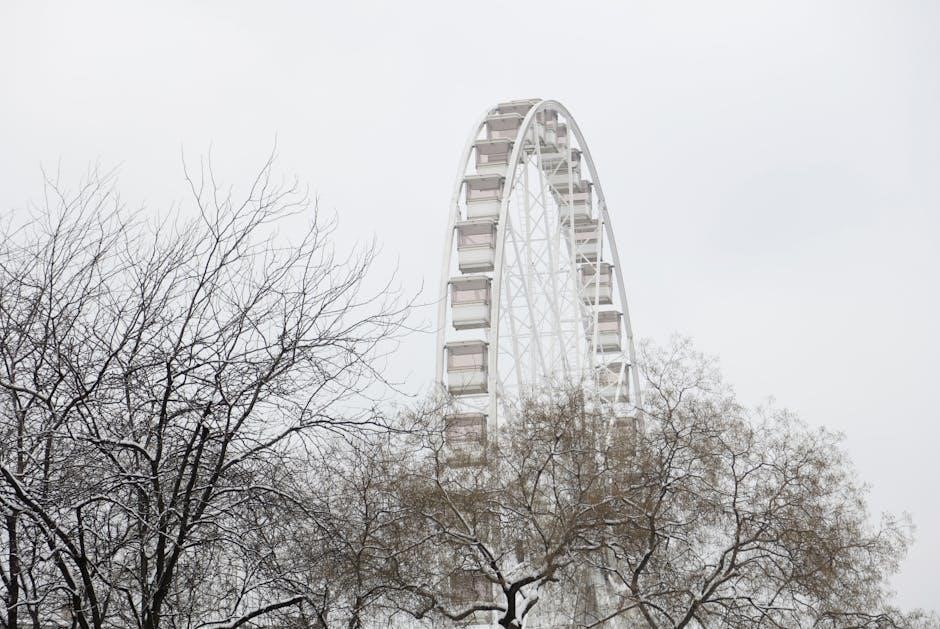
Understanding the Mechanics of a Ferris Wheel
A Ferris wheel operates by rotating a large‚ circular structure supported by a sturdy frame. Its mechanics involve gears‚ motors‚ and balanced weight distribution for smooth operation.
3.1 How the Wheel Rotates and Supports Weight
The Ferris wheel rotates smoothly due to its balanced design and gear system. The frame distributes weight evenly‚ while the motor powers the rotation. Strong rods and connectors provide structural integrity‚ ensuring stability and safety as the wheel turns. Proper alignment of these components is crucial for maintaining balance and preventing wobbling during operation.
3.2 The Role of Gears and Motors in Rotation
Gears play a crucial role in transferring power within the Ferris wheel‚ ensuring smooth rotation. The motor provides the necessary torque to initiate and maintain movement. Proper alignment of gears and motors is essential for efficient operation‚ while lubrication can reduce friction. This synchronized system allows the wheel to rotate steadily‚ supporting the weight of the seats and riders with precision and reliability.

Step-by-Step Assembly Instructions
Begin by constructing the base for stability‚ then build the Ferris wheel frame using rods and connectors. Attach seats securely and install the motor for rotation. Follow detailed steps carefully to ensure proper assembly and functionality‚ testing each component as you go to achieve a smooth and operational Ferris wheel.
4.1 Building the Base Structure
Start by assembling the base using flat rods and gray connectors to create a sturdy foundation. Ensure all connections are secure and evenly spaced for stability. Use triangular brackets to reinforce corners and prevent wobbling. Attach the base plate firmly‚ ensuring it is level and balanced. This step is crucial for the entire structure’s stability and proper rotation of the Ferris wheel.
4.2 Constructing the Ferris Wheel Frame
Attach vertical rods to the base corners‚ connecting them with horizontal bars to form the wheel’s circular frame. Use orange connectors to secure the rods‚ ensuring symmetry and even spacing. Install the support beams and circular track for the seats. Double-check alignment and tighten all connections to maintain structural integrity and ensure smooth rotation of the Ferris wheel.
4.3 Attaching the Seats and Safety Features
Secure the seats to the Ferris wheel frame using red connectors and clips. Attach each seat evenly around the circular track‚ ensuring proper spacing for balance. Add safety features like guardrails and seat belts to prevent accidents. Follow the instruction manual for precise alignment and tightening. Double-check all connections to ensure safe and sturdy seating for a smooth‚ worry-free operation of your K’NEX Ferris wheel.
4.4 Installing the Motor and Testing Rotation
Mount the motor securely to the base and connect it to the central axle of the Ferris wheel. Attach the power source and ensure all gears align properly. Test the rotation by running the motor at a slow speed. Check for smooth movement and balance. Adjust the motor’s alignment if necessary to achieve steady‚ even rotation without wobbling. Ensure the motor operates efficiently for optimal performance of your K’NEX Ferris wheel.

Tips for a Sturdy and Balanced Build
Use robust K’NEX pieces for the base and frame. Ensure all connections are secure and aligned properly. Tighten joints firmly to avoid wobbling. Balance the wheel by evenly distributing weight and using spacers if needed. Regularly check alignment to maintain stability and smooth rotation.
5.1 Ensuring Stability to Prevent Wobbling
A sturdy base is essential for stability. Use wide‚ balanced structures and secure all joints tightly. Ensure the frame is symmetrical and evenly weighted. Add spacers or supports at critical points to prevent leaning. Regularly check the base for levelness and tighten any loose connections. A stable foundation ensures smooth rotation and prevents wobbling during operation.
5.2 Balancing the Wheel for Smooth Rotation
Ensuring even weight distribution is key to smooth rotation. Check that all seats and structural elements are evenly spaced and aligned. Test the wheel by gently spinning it to identify imbalance. Adjust the placement of components or add counterweights if necessary. Proper balancing prevents uneven movement and ensures a steady‚ enjoyable rotation of your K’NEX Ferris wheel.

Troubleshooting Common Issues
Identify wobbling or rotation problems by checking loose connections or misaligned parts. Tighten joints and ensure proper alignment for stability and smooth operation of your Ferris wheel.
6.1 Diagnosing and Fixing Rotation Problems
Start by inspecting the gear system for misalignment or blockages. Ensure all gears are securely connected and properly lubricated. Check the motor’s power source and connections. If the wheel jerks or stalls‚ tighten loose rods and verify that all moving parts are free from obstruction. Test rotation slowly to identify and address any friction or imbalance issues promptly.
6.2 Solving Stability and Structural Issues
Ensure the base is level and securely anchored to prevent wobbling. Check for loose connections and tighten rods firmly. If the structure leans‚ adjust the balance by redistributing weight evenly. Reinforce weak points with additional connectors or rods. Regularly inspect for bent or warped pieces and replace them if necessary to maintain structural integrity and stability.
Customization and Creative Add-Ons
Add lights or decorative elements to make your Ferris wheel unique. Experiment with colors‚ themes‚ or additional features like moving parts for a personalized touch.
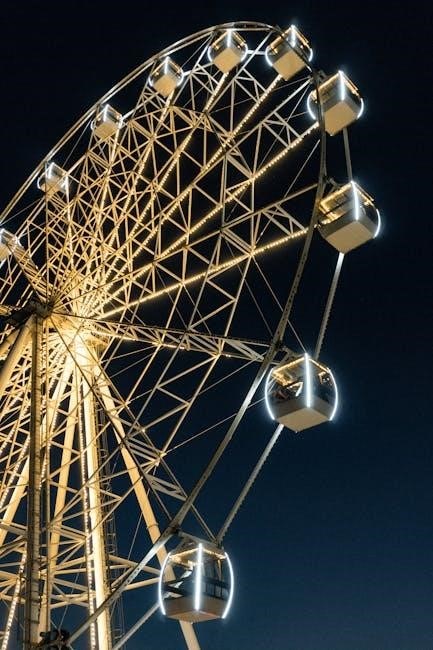
7.1 Adding Lights or Other Decorative Elements
Add lights or glow sticks to create a vibrant‚ illuminated Ferris wheel. Use LED strips or small lights to highlight the structure and seats. Decorative elements like stickers or themed accessories can enhance its appearance. Experiment with colors and designs to match your preferred theme‚ making it a unique and eye-catching display. Ensure decorations are securely attached to maintain balance and stability.
7.2 Modifying the Design for Unique Features
Customize your K’NEX Ferris wheel by modifying its design for unique features. Experiment with different sizes‚ shapes‚ or themes to create a one-of-a-kind structure. Add interactive elements like blinking lights or movable parts using additional K’NEX pieces. You can also incorporate themed accessories or paint for a personalized touch. Use online resources for inspiration‚ ensuring modifications maintain stability and functionality while showcasing your creativity.
Complete your K’NEX Ferris wheel project with a final inspection and testing. Display your creation proudly‚ showcasing your creativity and engineering skills. Congratulations on your accomplishment!
8.1 Final Inspection and Testing
Conduct a thorough final inspection of your K’NEX Ferris wheel to ensure all parts are securely connected. Test the rotation‚ checking for smoothness and balance. Verify that seats are attached properly and safety features function as intended. Make any necessary adjustments to ensure stability and optimal performance. This step guarantees your creation is both durable and fully operational.
8.2 Displaying Your Finished Ferris Wheel
Proudly showcase your completed K’NEX Ferris wheel in a visible location‚ such as a shelf or tabletop. Ensure the surface is sturdy and level to maintain stability. Add decorative elements like lights or paint for extra flair. This masterpiece reflects your creativity and engineering skills‚ making it a standout piece in any room. Sharing your finished project with others can inspire admiration and joy.
Additional Resources and Support
Explore official K’NEX websites‚ instruction manuals‚ and online forums for troubleshooting‚ creative ideas‚ and expert advice to enhance your Ferris wheel building experience and resolve challenges.
9.1 Where to Find Instruction Manuals and Guides
Official K’NEX websites offer downloadable instruction manuals for Ferris wheel sets‚ such as the 6-foot model (Product ID: 89790) and the 3-in-1 Classic Amusement Park (17035). Third-party sites like ManualsLib and ManualsOnline also provide access to these guides. Additionally‚ online marketplaces and community forums often share user-uploaded manuals for various K’NEX sets‚ ensuring you can find the specific instructions you need. Always verify the source for accuracy and safety.
9.2 Online Communities for K’NEX Enthusiasts
K’NEX enthusiasts can connect and share ideas through online forums‚ social media groups‚ and dedicated communities. Platforms like Reddit and Facebook host active groups where builders exchange tips and showcase their creations. These spaces foster collaboration‚ offering inspiration and support for both beginners and experienced builders working on Ferris wheels and other intricate designs.
Encouragement and Next Steps
Completing your K’NEX Ferris wheel is a testament to your creativity and perseverance. Use this achievement as motivation to explore more complex builds and innovative designs.
10.1 Motivation to Continue Building with K’NEX
Building a K’NEX Ferris wheel is a rewarding experience that sparks creativity and problem-solving skills. The sense of accomplishment motivates you to explore more complex designs‚ fostering confidence in your abilities. Each project enhances your understanding of mechanics and structure‚ encouraging you to push boundaries and take on new challenges with enthusiasm and innovation.
10.2 Exploring More Complex K’NEX Projects
After mastering the Ferris wheel‚ consider tackling more intricate K’NEX designs‚ such as roller coasters or bridges. These projects challenge your engineering skills and creativity‚ offering a sense of accomplishment as you bring complex ideas to life; Each new build enhances problem-solving abilities and fosters a deeper understanding of mechanics‚ encouraging you to innovate and push the boundaries of what’s possible.